

First Miranda and I went on a glitter run. We needed jars, beads, and of course glitter! Notice our curly hair, I did that with a flat iron! And our lovely headbands. This was not on purpose.
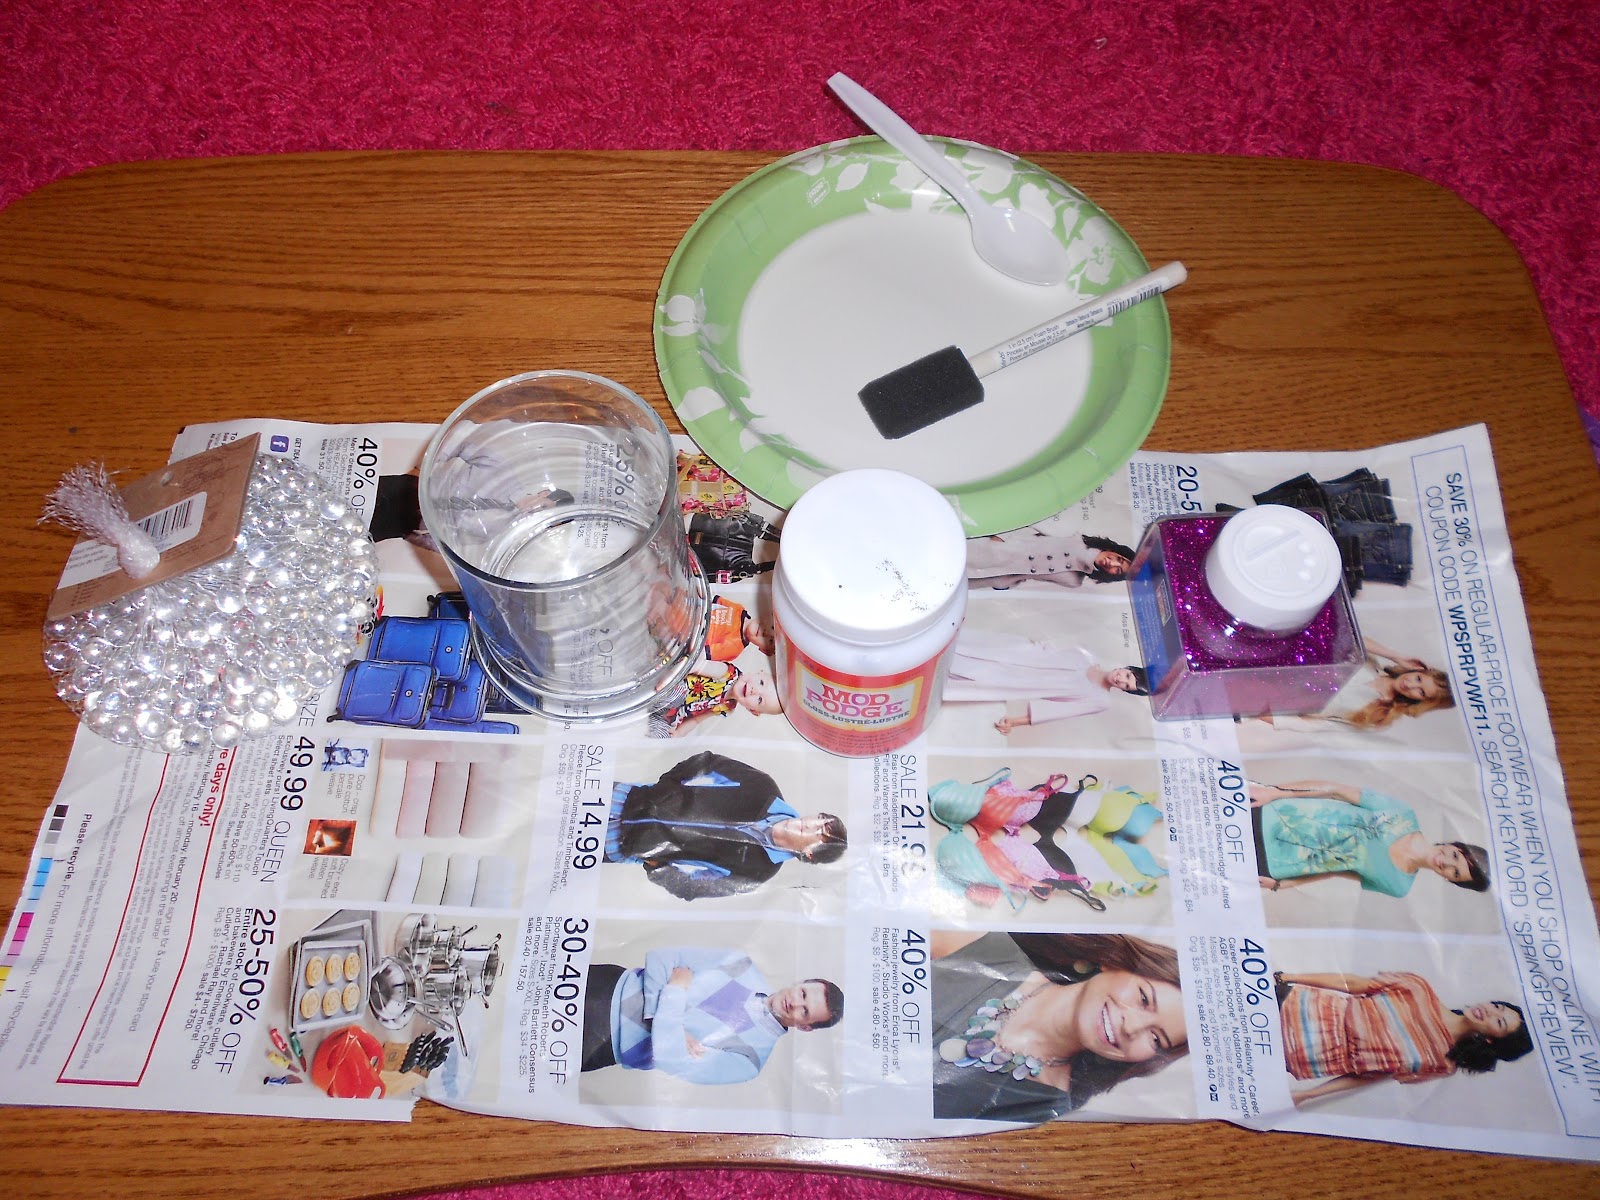
Oh hey! we're back! You're going to need some Mod Podge, a glass jar (Dollar Tree - $1), glass or plastic beads (Micheal's - $1.20), glitter, a brush and something to hold the glitter and Mod Podge.
*You don't have to use the glass beads. If you can find the plastic pellets you can use those too or none at all. The glass beads were cheaper and they help the brushes stand up.

Pour about 3-4 tbsp (depends on the size of your jar) of Mod Podge and 2 tbsp of glitter. I didn't actually measure this out, I just eyeballed it. I get that from my mom. Mix it all together until it is completely combined.

Take a piece of tape and line the rim of your jar on the OUTSIDE to prevent getting the glitter mix on the outside of your jar. Then paint that thing!

Inside view jar. Isn't it pretty! As you can tell there are some spots that are lacking some glitter. But don't worry I can fix that!

Like I said I can fix this. I poured some glitter into the bottom of the jar. Then I slowly twisted it in circles until it was completely covered and then poured the excess out and back into the jar.

Let your jar dry overnight and put your beads inside. Then of course, stick your brushes inside.

And look at that there! I love it. It looks so pretty on my desk and now I'm not searching in the dark in the morning for them. Also do you like my board? My dad made it for me to do my homework on. I had a plastic one last year and it snapped in half. Dad handcrafted this one over the summer and I love it as well!
-Katelyn


No comments:
Post a Comment